You get home from an event with a handful of business cards and scan them before they disappear into a drawer. The names and companies appear in your contacts, so the job seems done. It is only when you start writing a follow-up that you notice something odd: the email address has an extra character, a company name has become a surname, or the phone number is missing its last digit.
Those mistakes are easy to overlook because the result still looks like a proper contact. An email address with one wrong letter can be perfectly plausible, and a neatly filled field does not tell you whether the scanner understood the card. The useful habit is to compare the captured details with the original while you still have it in front of you. That small review is what turns a scan you hope is right into a record you can confidently use.
The short answer
Treat a business card scan as a first draft. Check the name, email, phone number, company, and job title against the original before saving. If the image is blurred, cropped, or catching glare, retake it. If the card itself is unclear, confirm the detail with the person instead of guessing.
Fix the photograph before fixing every letter
Before you start correcting individual letters, look at the photograph itself. If you cannot comfortably read the card in the image, you may spend longer untangling the result than taking another picture. The question is not whether the photo looks attractive; it is whether the text you need is sharp, complete, and free of reflections. A clean image also gives you a better reference for any details that still need manual correction.
- Glare across the text: move the card or change the angle until the bright reflection clears the lettering. Check the preview, especially on glossy cards.
- Blur or tiny print: steady the phone, wait for focus, and make the card large enough in the frame to read while keeping every edge visible.
- Missing digits or clipped lines: include the whole card. A perfectly sharp crop is still incomplete.
- Busy background or several cards: photograph one card on a plain surface. Keep neighboring text out of the image.
- Details on the back: check both sides. If your scanner only processes one side, add the remaining details manually rather than assuming they were captured.
Once you have a readable photo, do not get stuck in a loop of rescanning the same card. If an unusual typeface keeps turning a letter into a number, or a two-column layout keeps mixing up the fields, manual correction is the more useful next step. The photograph has done its job when it gives you a reliable source to check against, even if the automated result still needs work.
Read the fields, not just the preview
There are two kinds of mistake to look for: the text may have been read incorrectly, or the right text may have landed in the wrong field. A company name can become a surname, for example, while a website may appear where an email address belongs. Reading the record as a whole helps you spot those mix-ups before you settle into checking individual characters. Start with the details you will actually use to recognize or contact the person, then work through the rest.
- Name
- Check spelling, accents, spacing, and name order. Do not shorten or rearrange a name simply because the scanner did. If pronunciation matters for your next conversation, ask the person rather than inventing a phonetic note.
- Compare it character by character, including dots, hyphens, and the domain ending. Watch for lookalike characters such as lowercase l, uppercase I, and the number 1. A plausible address is not proof it belongs to the right person.
- Phone
- Check every digit, the printed country code, and any extension. Keep office and mobile numbers labeled correctly. If the card does not make the country or number type clear, leave that uncertain until confirmed.
- Company and role
- Separate the organization from the job title. Check whether a line is a brand name, department, or address before assigning it to a field.
- Website
- Check the spelling against the card before opening it. A transcription error can send you somewhere unrelated. Do not treat a successful page load as identity verification.
A second scan should not become a second person
Before creating a new record, search your contacts for the name and a distinctive detail such as the email address. You may have met the person before, or already saved them under a nickname or an earlier employer. If it really is the same person, keeping the conversation history together is more useful than starting again with another almost-identical record. Compare the details before consolidating anything, though: two people can share a name, and one person can have several addresses.
A printed card can also be older than the information you already have. If the card says Northwind but a recent conversation suggests the person has moved, do not let the scan silently overwrite that context. A note such as “card says Northwind; current role needs confirming” keeps the disagreement visible until you can resolve it. The goal is a record you can trust, rather than one that merely has every field filled in.
A worked review: one letter, one misplaced line
This is a fictional example, using a reserved example domain:
Printed on the card: Maya Lin · Partnerships · Northwind · maya.lin@northwind.example
Scan result: Maya Partnerships · company: Lin · maya.1in@northwind.example
Review: restore Maya Lin as the name, put Partnerships in the role field, add Northwind as the company, and replace the number 1 with the letter l in the email.
Notice that the correction involves both a misread character and misplaced fields. Checking only whether the record looks complete would miss both. Once those details are right, save the part the card cannot tell you: where you met and what you agreed to do. For example, “Met after the partner workshop; I offered to share our onboarding checklist.” That belongs in a contact note, not the job-title field.
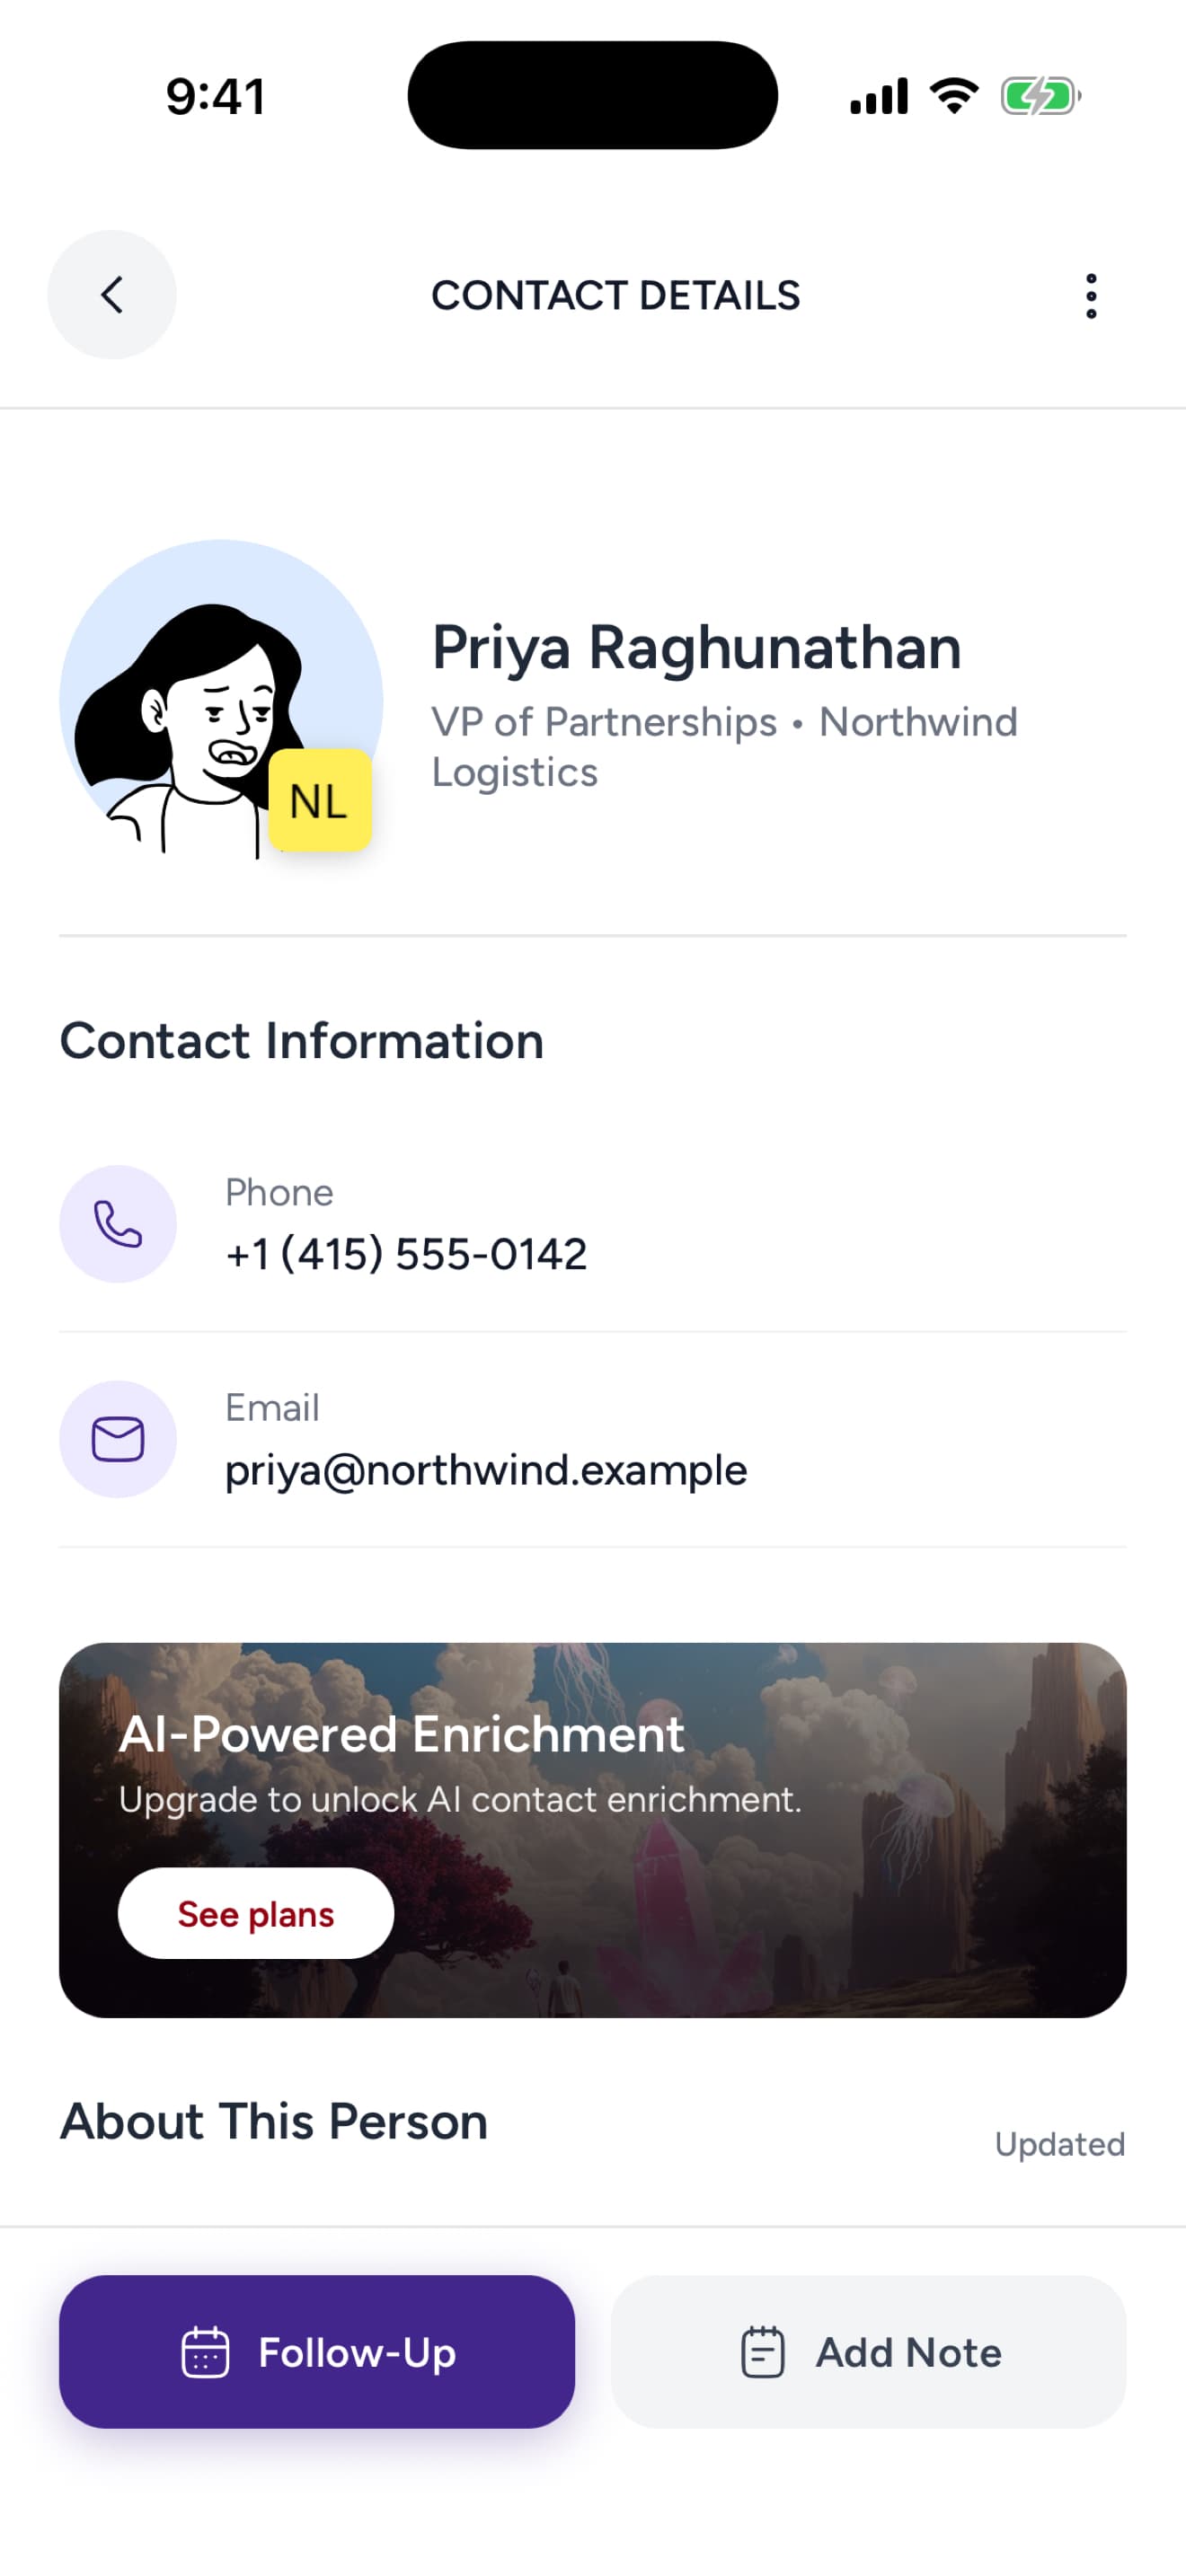
The contact-detail screen keeps contact fields alongside a note and follow-up entry point. Existing Kontextual product-design export; sample content is illustrative.

Already saved it? Correct the record before reaching out
Finding a mistake after saving is a reason to correct the record, not start the whole process again. Reopen the contact and compare it with the card while you still have it, then check whether you also use a duplicate or separately exported copy elsewhere. Editing one app does not necessarily update another address book, so it is worth finding the copy you will actually use for the next message.
If a message bounced, inspect the address before trying again. If you realize a message went to the wrong person, stop using that address; do not keep sending to test it. When the source is ambiguous, confirm through a contact channel you already know is genuine.
Keep the card only as long as it is useful for verification and your own recordkeeping needs. A scan does not give you permission to add someone to marketing campaigns.
Make a checked scan useful
Kontextual mobile supports business card capture, while contacts, notes, Lists, and reminders help keep the wider relationship context together. Review captured details yourself; neither this workflow nor a tidy-looking record guarantees accuracy.
For the complete capture-to-conversation routine, read how to turn business cards into useful contacts. This checklist handles the transcription problems; the next step is remembering why the person mattered.